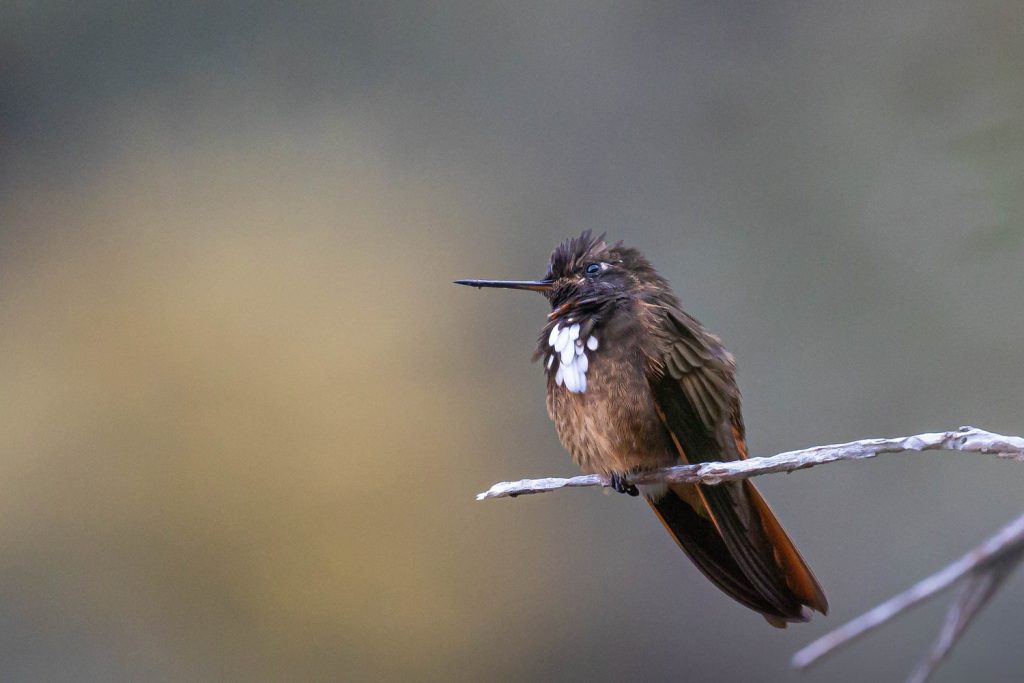
If you’re an avid hummingbird enthusiast or simply want to bring these jewel-toned wonders closer to your home this blog may be interesting to you. We made a definitive Guideline for Hummingbird Feeders – Everything You Need to Know for a Vibrant Backyard Oasis. hummingbird feeders are your go-to tools. These ingenious contraptions mimic the natural nectar sources found in flowers and offer a delightful way to observe and support these tiny dynamos.
You may also enjoy our blog about it´s correct use and maintenance for hummingbird feeders and FAQs here
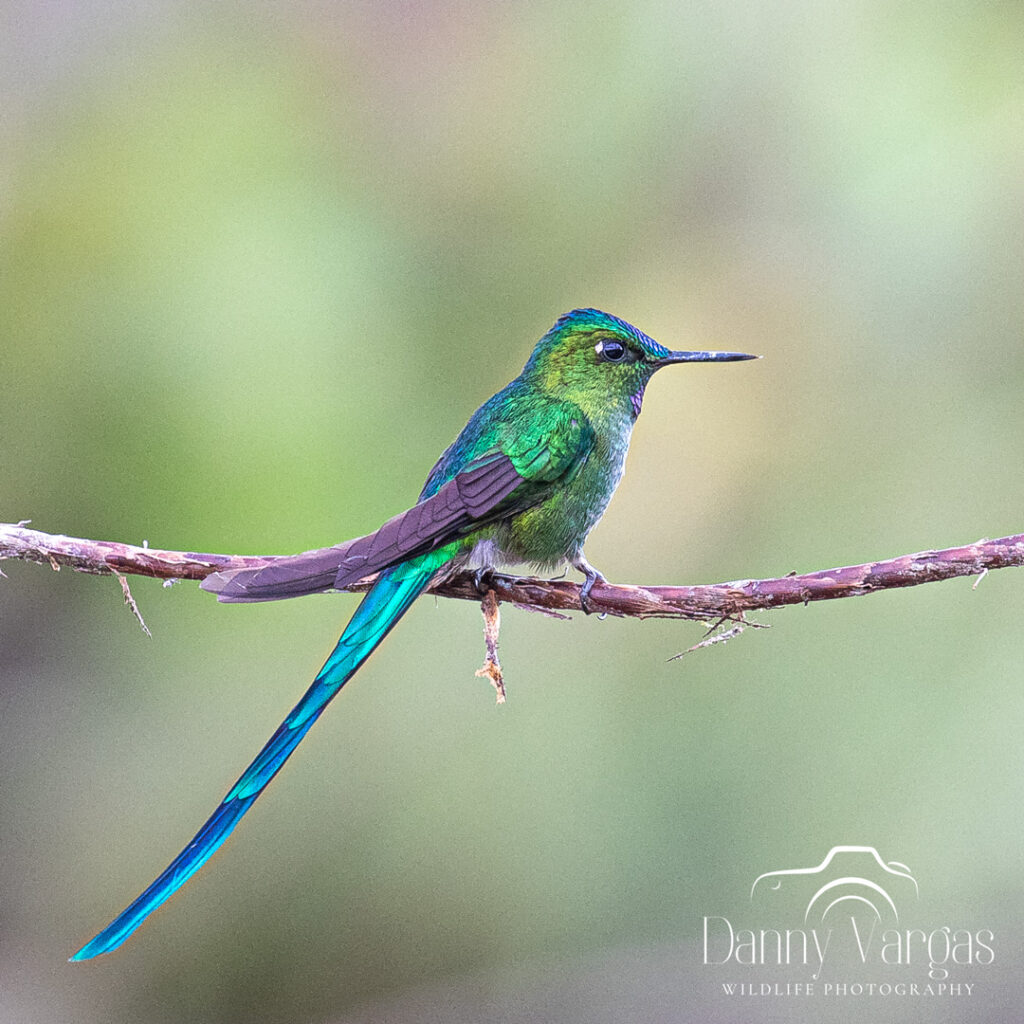
The Anatomy of the Hummingbird Feeders:
A typical hummingbird feeder consists of a few key components:
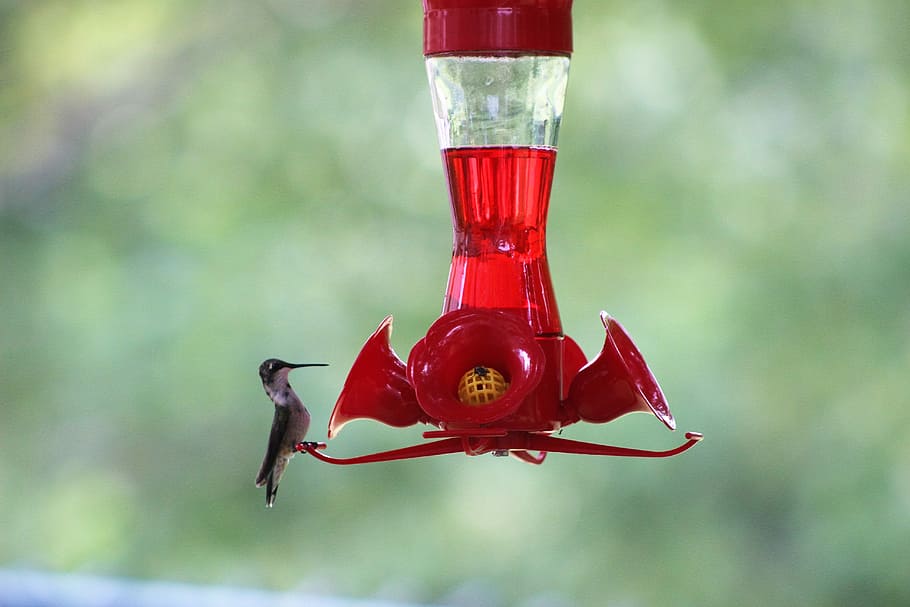
- Container: This is the reservoir that holds the nectar solution. It can be made of glass, plastic, or other materials, often shaped like a bottle or jug.
- Feeding Stations: These are small openings on the feeder where the hummingbirds access the nectar. They usually have built-in perches or feeding ports to accommodate the birds comfortably.
- Lids and Caps: These help to keep the nectar fresh and protect it from contaminants, such as rain or debris.
How They Work:
The principle behind hummingbird feeders is straightforward: they provide an artificial source of nectar for hummingbirds to sip from. Here’s how they function:
- Nectar Solution: To attract hummingbirds, you’ll need to prepare a nectar solution, which closely mimics the natural nectar found in flowers. A sugar+water solution poured into the container of the feeder. We will discuss later the best recipe.
- Attracting Hummingbirds: Hummingbirds are drawn to the feeders by the bright colors and, of course, the sweet aroma of the nectar. Red is a particularly attractive color for these birds, so many feeders have red accents or features.
- Feeding: As the hummingbirds discover the feeder, they approach the feeding stations and use their specialized tongues to sip the nectar. Procure to add some branches at different levels or place the feeder near vegetation, they will allow the hummingbirds to rest while feeding, conserving energy and spending longer time near your garden and additionally create an appropriate habitat for arthropods and aracnids that hummingbirds can add to their diet.
- Maintenance: Regular maintenance is crucial to ensure the health of the hummingbirds. Feeders should be cleaned and refilled with fresh nectar every few days, especially in warm weather, to prevent spoilage and mold growth. this aspect is crucial and if you are not sure you will be able to take some time for maintenance and cleaning, you may reconsider using feeders and opt for flowers.
Hummingbird feeders offer an up-close and personal view of these incredible creatures, making them a favorite among bird enthusiasts. They also play a valuable role in conservation efforts by providing an additional food source, especially during times of nectar scarcity or extreme weather conditions or migration. So, whether you’re looking to enjoy the delightful company of hummingbirds in your backyard or contribute to their well-being, setting up a hummingbird feeder is a fantastic way to invite these tiny, iridescent wonders into your world.
BEST RECIPE!!
Creating the right nectar recipe for your hummingbird feeder is not only easy but also crucial to their well-being. Here’s a simple and effective recipe to make sure you’re providing the best nutrition for your feathered visitors:
Ingredients:
- 1 cup of white granulated sugar
- 4 cups of boiling water
Instructions:
- Measure the Sugar: Start by measuring out one cup of white granulated sugar. Avoid using honey, brown sugar, or artificial sweeteners, as they can be harmful to hummingbirds.
- Boil the Water: In a pot, bring four cups of water to a rolling boil. Boiling the water helps to remove impurities and ensure the nectar stays fresh longer.
- Add Sugar: Carefully pour the one cup of sugar into the boiling water. Stir the mixture until the sugar is completely dissolved. This creates the sugar-water solution that closely resembles natural nectar.
- Cool and Store: Allow the nectar solution to cool to room temperature before filling your hummingbird feeder. Once it’s cooled, you can either use it immediately or store any excess in the refrigerator. Be sure to keep the nectar in a sealed container to prevent contamination.
Tips for Nectar Preparation:
- Avoid Red Dye: There’s no need to add red food coloring to the nectar. Many feeders already have red accents that attract hummingbirds, and artificial dyes can be harmful to them.
- Cleanliness Matters: Keep your hummingbird feeder and any containers used for nectar preparation clean. Regularly clean and disinfect your feeder to prevent mold and bacteria growth.
- Regular Replacement: Change the nectar in your feeder every three to five days, even if it hasn’t been entirely consumed. In hot weather, nectar can spoil more quickly, so be vigilant.
- Natural Sources: While feeders are an excellent supplement, encourage hummingbirds to feed on natural nectar sources like flowers, too. Native plants that attract hummingbirds can be a valuable addition to your garden.
Mind these simple but important recipe and proper maintenance practices and you’ll provide your hummingbirds with a safe and nutritious food source that will keep them coming back to your feeder for more. Plus, it’s a rewarding way to support these captivating birds while enjoying their vibrant presence in your backyard. See more here.
RECOMENDED FEEDERS
If you’re looking to elevate your hummingbird-watching experience, the world of hummingbird feeders offers a wide range of options to choose from. These feeders not only come in various designs and styles but also cater to different preferences and practical considerations. Here’s a glimpse into the models of feeders you can find online:
1. Tube Feeders: These are the most common and classic type of hummingbird feeders. They consist of a clear plastic or glass container with feeding ports. Tube feeders are easy to clean and refill, making them a popular choice for bird enthusiasts.
2. Dish or Saucer Feeders: These feeders feature a shallow dish or saucer filled with nectar. They often have a perch or feeding platform around the edges. Dish feeders can accommodate multiple hummingbirds at once and are known for their simplicity.
3. Window Feeders: If you want to get an up-close view of hummingbirds from the comfort of your home, window feeders are a fantastic option. These feeders attach to your windowpane, allowing you to witness these tiny wonders from just a few inches away.
4. Bottle Feeders: These feeders typically have a bottle-shaped reservoir for nectar with feeding ports. They come in various designs, including vintage-style glass bottles and modern plastic models. Bottle feeders often have a nostalgic charm.
5. Decorative Feeders: For those who want to combine function with aesthetics, decorative feeders are the way to go. These feeders are designed to look like artistic pieces, adding a touch of beauty to your garden while attracting hummingbirds.
6. Ant Moats and Bee Guards: Some feeders come with built-in features like ant moats to deter crawling insects and bee guards to prevent bees from accessing the nectar. These additions can help keep your feeder exclusive to hummingbirds.
7. Multi-Feeder Stations: If you want to create a hummingbird haven in your yard, consider multi-feeder stations. These setups can accommodate multiple feeders, providing ample space for a hummingbird buffet.
8. DIY and Homemade Feeders: For the crafty bird enthusiasts, there are plenty of DIY hummingbird feeder ideas available online. Doing your own feeder using recycled materials like bottles, cups, or jars may give a different touch by creating unique feeders. We will show you how later!.
9. Specialty Feeders: Some feeders are designed with specific features, like perches designed for larger hummingbirds or feeding ports suited for smaller species. Specialty feeders cater to the unique needs of different hummingbird species.
When choosing a hummingbird feeder, consider factors like ease of cleaning, durability, capacity, and the design that suits your aesthetic preferences. Whether you opt for a simple tube feeder or an elaborate decorative model, providing a reliable source of nectar will undoubtedly make your backyard a hummingbird hotspot, and with online shopping, you have a plethora of choices at your fingertips to cater to your birdwatching desires. See more here.
DIY
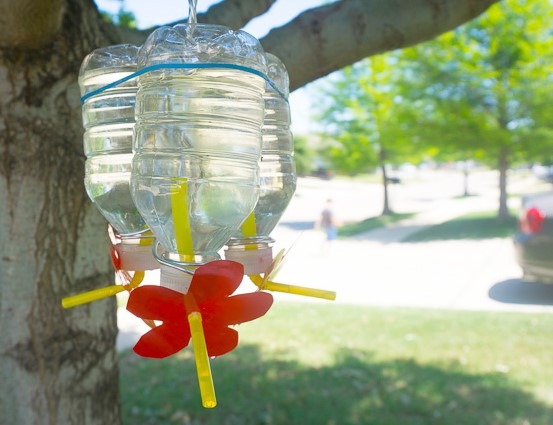
If you’re the creative type or simply enjoy a good DIY project, making your own hummingbird feeder can be a rewarding and environmentally friendly endeavor. Not only does it allow you to showcase your craftsmanship, but it also reduces waste by repurposing items you may already have at home. Here’s a simple guide to get you started:
Materials You’ll Need:
- Empty Bottle or Jar: A clean, clear bottle or jar with a screw-on cap works well for this project. Recycling an old glass container is an excellent eco-conscious choice.
- Feeding Ports: To provide access to the nectar, you’ll need small, plastic or rubber feeding ports or tubes.
- Wire or String: You’ll need something to hang your feeder. Thin wire, fishing line, or durable string will do the trick.
- Red Paint or Tape: Adding a touch of red to your DIY feeder will attract hummingbirds. You can paint the bottle or use red electrical tape to create accents.
- Nectar: Of course, you’ll also need homemade hummingbird nectar (as described in a previous section).
Steps to Assemble Your DIY Hummingbird Feeder:
- Clean the Container: Ensure your chosen container is thoroughly cleaned and free of any residue or labels. A good rinse with warm, soapy water should suffice.
- Create Feeding Ports: Drill or punch small holes in the cap of the bottle, and insert the feeding ports. Make sure they fit snugly to prevent leaks.
- Paint or Tape Red Accents: Add red accents to the feeder to attract hummingbirds. This can be done by painting the bottle or applying strips of red tape. Hummingbirds are naturally drawn to the color red.
- Fill with Nectar: Prepare your homemade nectar and pour it into the bottle, leaving some space at the top to prevent spillage when you hang it.
- Attach Hanging Wire or String: Create a loop or hook with the wire or string and securely attach it to the neck of the bottle. Make sure it’s strong enough to support the weight of the filled feeder.
- Hang It Up: Find a suitable location in your garden or near a window where you can hang your feeder. Make sure it’s visible and easily accessible to both you and the hummingbirds.
- Monitor and Refill: Keep an eye on your DIY feeder, and refill it with fresh nectar every three to five days, or more frequently in hot weather. Regular cleaning and maintenance are essential.
Creating your own hummingbird feeder is a fantastic way to connect with these amazing birds while engaging in a sustainable, eco-friendly project. It’s also an excellent opportunity to involve children or friends in learning about the importance of providing nectar sources for these tiny aerial acrobats. So, roll up your sleeves, unleash your creativity, and watch as your homemade hummingbird feeder becomes a hub of activity in your garden.

